
How Car Wrap Installation Works
The technical process behind a professional car wrap — what installers actually do at each step and why it matters for the finished result.
5 Steps, 3-5 Days, Zero Shortcuts
Professional car wrap installation is a multi-day technical process — not a quick sticker job. Each step builds on the last: surface decontamination, disassembly, vinyl application, trimming, and post-heat treatment.
Skip any step and the wrap fails early. This guide explains what happens at each stage so you can tell the difference between a $5,000 quality job and a $1,500 shortcut.
The Materials: What Vinyl Wrap Actually Is
Car wrap vinyl is a thin, flexible film — typically 2-4 mils thick (about the thickness of a sticky note). It's engineered with three layers: a decorative face film, a pressure-sensitive adhesive, and a release liner that peels off during application.
Cast vs. Calendered Vinyl
Cast Vinyl (Premium)
- Thinner (2-3 mil), conforms to complex curves
- Low material memory — stays where you put it
- Lasts 5-7 years, clean removal
- Brands: 3M 2080, Avery Supreme, KPMF
Calendered Vinyl (Budget)
- Thicker (3-4 mil), struggles on curves
- High material memory — tends to spring back
- Lasts 3-4 years, harder to remove
- Fine for flat surfaces, not full wraps
Modern wrap vinyl uses air-release adhesive channels — microscopic grooves in the adhesive layer that let trapped air escape during application. This is what makes bubble-free installation possible. Older vinyl without air-release channels required wet application and was far more prone to failure.
Step 1: Surface Decontamination
This is the step that separates professionals from amateurs. Any contaminant trapped between the paint and the vinyl — wax, grease, silicone, tree sap, iron particles — will cause bubbles, lifting, or adhesion failure within weeks.
The Decontamination Process
- 1Pressure wash — removes loose dirt, mud, and debris from every panel, gap, and crevice
- 2Clay bar treatment — pulls embedded contaminants (iron particles, industrial fallout, overspray) out of the clear coat that washing alone can't remove
- 3Isopropyl alcohol (IPA) wipe — strips all wax, sealant, silicone, and grease residue. Every square inch of the vehicle gets wiped down with 50/50 IPA solution
- 4Tack cloth pass — a final wipe with a lint-free tack cloth to catch any remaining dust or fiber before vinyl goes on
Temperature & Humidity Requirements
The shop must be 65-80°F (18-27°C) with 40-60% relative humidity. Below 65°F, vinyl becomes stiff and won't conform to curves. Above 80°F, the adhesive activates prematurely and the vinyl overstretches. This is why garage and outdoor installations are risky — and why professional shops invest in climate control.
Step 2: Disassembly and Panel Preparation
Before any vinyl touches the car, the installer removes exterior components to wrap underneath them — not over them. Wrapping over trim, handles, and badges is a shortcut that creates visible seams, traps dirt, and leads to premature edge lifting.
What Gets Removed
Always Removed
- Door handles
- Side mirrors
- Exterior badges and emblems
- Antenna
- Windshield wipers
Often Removed (Full Wraps)
- Headlight and taillight surrounds
- Bumper end caps
- Window trim and chrome strips
- Gas cap cover
- Spoiler (if bolt-on)
After disassembly, the installer inspects the paint for chips, rust spots, or previous bodywork. Vinyl wraps are thin enough to telegraph imperfections — a paint chip under the wrap will show as a visible bump. Shops will typically note any existing damage before proceeding.
Edge Primer Application
On edges where the vinyl will be tucked and sealed — door jambs, wheel arches, bumper edges — installers apply a thin adhesion promoter (edge primer). This significantly increases bond strength at the most failure-prone points. Skipping edge primer is one of the most common causes of edge lifting within the first year.
Step 3: Vinyl Application
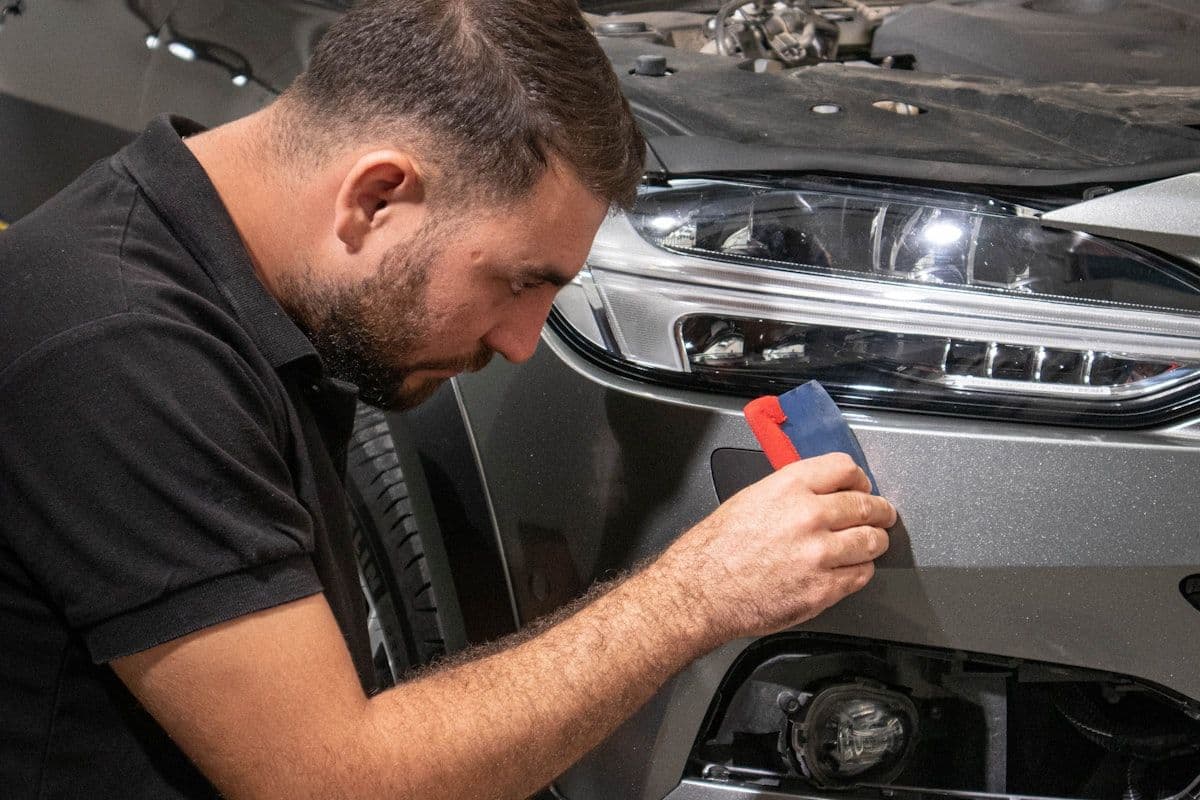
This is the step that takes the most skill and the most time. Installers work panel by panel, starting with flat surfaces (hood, roof) and progressing to complex curves (bumpers, mirrors). A full sedan takes 15-25 hours of application time alone.
Professional installer using heat gun and squeegee during vinyl application
The Application Technique
The installer cuts a piece of vinyl slightly larger than the panel, peels the backing, and positions it using the hinge method — tacking one edge, then slowly squeegee-ing outward to push air through the air-release channels in the adhesive.
A heat gun at 180-210°F (82-99°C) softens the vinyl so it can conform to curves, recesses, and body lines. The installer stretches the material into shape — but never beyond 30-40% stretch. Overstretched vinyl looks fine initially but develops color distortion, orange-peel texture, or snaps back over time.
Panel Difficulty Ranking
From easiest to hardest — this is why some panels take minutes and others take hours.
Why Rushing Kills Wraps
Each panel needs to be heated, stretched, squeegeed, inspected, and sometimes re-done. A single bumper can take 2-4 hours. If a shop promises a full wrap in one day, they're either using a large team (fine if experienced) or cutting corners on prep, stretching vinyl too far, or skipping post-heat treatment.
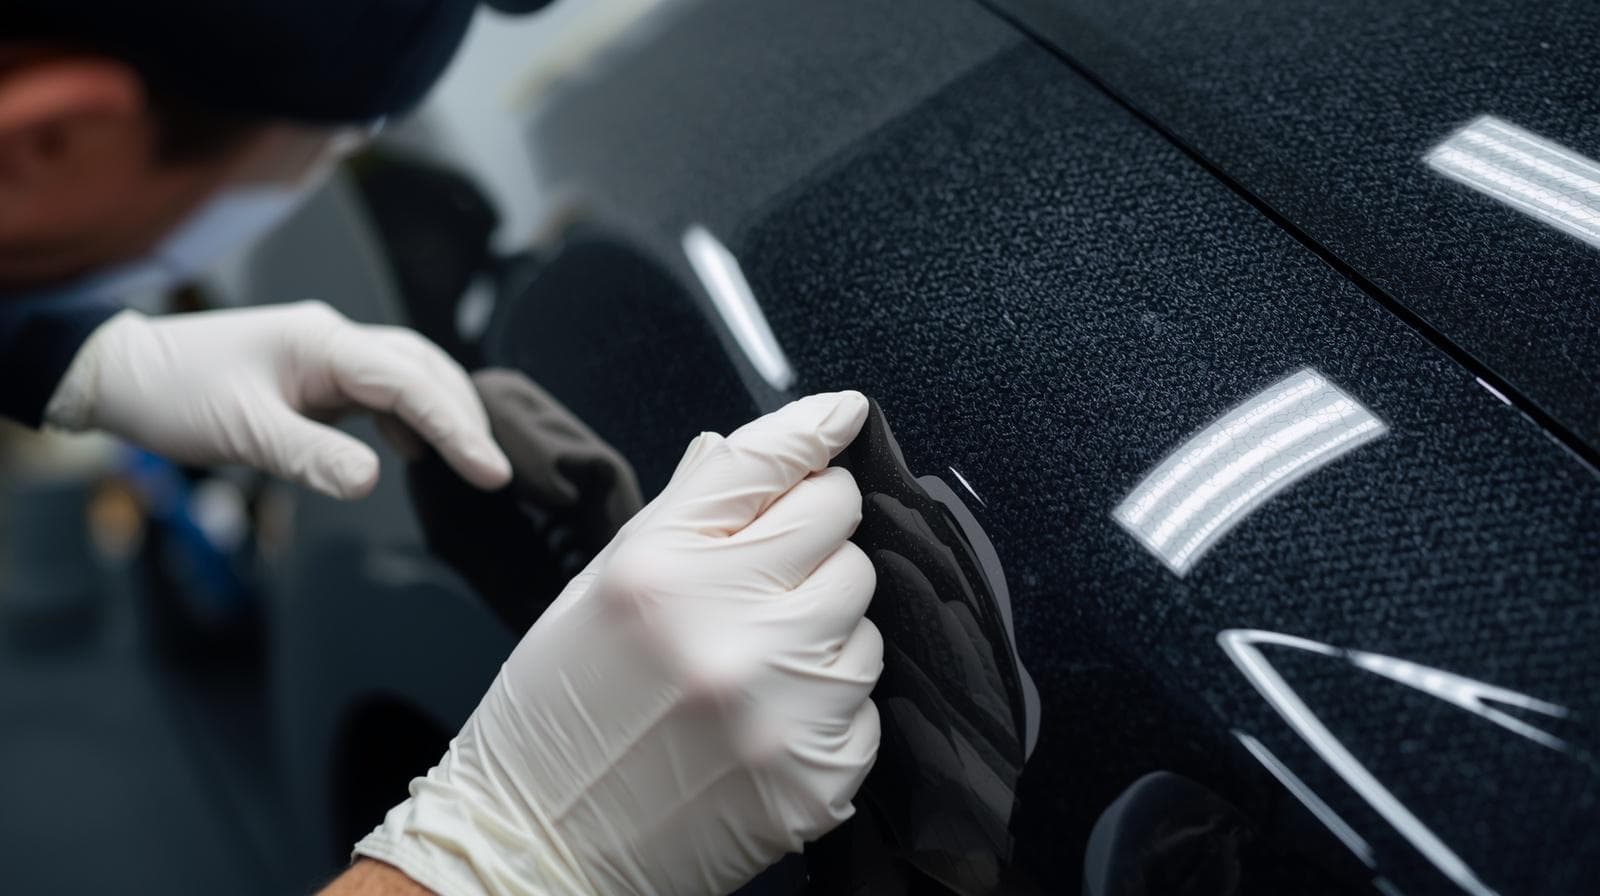
Step 4: Trimming, Tucking, and Edge Sealing
After each panel is applied, the excess vinyl needs to be cut precisely and the edges wrapped into gaps, under trim, and into door jambs. This is where 90% of wrap failures start — a poorly sealed edge will lift within months.
Two Cutting Methods
Knifeless Tape (Preferred)
A thin filament tape placed on the surface before vinyl application. When pulled, it cleanly cuts the vinyl along a precise line.
- Zero risk of paint damage
- Clean, consistent cut lines
- Ideal for curved surfaces and two-tone designs
Blade Trimming
A sharp blade cuts the vinyl at panel edges. Required in some areas where knifeless tape can't reach.
- Requires extreme precision near paint
- Necessary for tight recesses and complex cutouts
- Experienced installers use minimal blade pressure
After trimming, the vinyl edges are tucked into panel gaps — the seams between body panels, under window trim, into door jambs. Quality shops wrap at least 5mm past visible edges so no raw vinyl edge is exposed to the elements. This tucking is heated and pressed firmly to activate the adhesive at full strength.
Step 5: Post-Heat Treatment
This is the most commonly skipped step — and the #1 cause of premature edge lifting. After all panels are installed and trimmed, the entire vehicle gets a systematic heat pass.
What Post-Heat Does
- 1Releases internal stress — vinyl that was stretched during installation holds tension. Heat relieves this tension so the material relaxes into its final shape instead of pulling back over time.
- 2Strengthens adhesive bond — heat above 200°F drives the adhesive into the paint's microscopic texture, creating a significantly stronger mechanical bond than pressure alone. This is especially critical at edges and recesses where the vinyl is under tension.
- 3Seals edges permanently — every tuck point, wrapped edge, and seam gets re-heated and pressed. This is the last line of defense against water intrusion and edge lifting.
How to Know If Post-Heat Was Skipped
Within the first 2-4 weeks: edges start lifting at bumper corners, door handles, or mirror bases. The vinyl may also develop a slightly raised texture around curves where stretched material is trying to spring back. If your wrap shows these symptoms early, post-heat was likely skipped or incomplete.
What Separates Good from Bad Installation
Two wraps can use the same material and look identical on day one. The difference shows up at 6 months, 12 months, and beyond.
Signs of Quality Installation
- Edges tucked into door jambs (not cut at panel edges)
- No visible seams on flat panels
- Color consistency across all panels
- Trim, badges, and handles removed and reinstalled cleanly
- Smooth, bubble-free surfaces under direct light
- Written warranty covering installation defects
Red Flags of Poor Installation
- Vinyl cut at panel edges with no tucking
- Visible seam overlaps on flat surfaces
- Orange-peel texture (overstretched vinyl)
- Trim wrapped over instead of removed
- Silvering or haze around curves (adhesive failure)
- No warranty or "we don't cover edges"
Tools of the Trade
Professional wrap installers invest $2,000-$5,000+ in specialized tools. Here's what a well-equipped shop uses daily.
Heat gun (dual-temp)
Softens vinyl for conforming to curves. Dual-temp models switch between application heat (180°F) and post-heat (210°F+)
Squeegees (multiple types)
Hard felt squeegees for flat surfaces, soft silicone for curves, micro squeegees for recesses and tight spots
Knifeless tape
3M or equivalent filament tape for clean cut lines without blade contact. Multiple widths for different applications
Precision blades
OLFA or NT Cutter snap-off blades. Fresh blades for every panel — a dull blade drags and damages vinyl
Infrared thermometer
Measures surface temperature during application and post-heat. Ensures consistent heat across all panels
Clay bar kit
Clay bar, lubricant spray, and microfiber towels for surface decontamination before wrapping
Edge primer (3M 94)
Adhesion promoter applied to edges and tuck points. Increases bond strength on high-stress areas
IPA solution
50/50 isopropyl alcohol and water for final surface degreasing. The last thing that touches the paint before vinyl