
What to Expect When Getting Your Car Wrapped
From your first consultation to driving away with a new look — here's the complete step-by-step process so there are no surprises.
The Process at a Glance
A full car wrap takes 3-5 business days from drop-off to pickup. The process includes consultation, surface prep, installation, post-heat treatment, and a quality inspection.
Most of the work happens while your car is at the shop — your main responsibilities are preparing the vehicle beforehand and following aftercare instructions.
Before Your Appointment
What you do before drop-off directly affects the quality and longevity of your wrap. Here's how to prepare.
Step 1: Consultation & Quote
Your installer will assess your vehicle in person or via photos. This is where you'll discuss color, finish (matte, gloss, satin), and any custom design elements.
What to bring or share:
- Photos of your vehicle (all sides, close-ups of any damage)
- Color/design inspiration (screenshots, swatch names)
- Your budget range — a good installer will work with you
- Any existing paint damage, rust, or previous wraps to disclose
Expect the quote to include material costs, labor, and warranty details. Most shops require a 30-50% deposit to order materials and book your slot. For typical pricing, see our car wrap cost guide.
Step 2: Prepare Your Vehicle (1-2 Days Before)
Proper prep is the single biggest factor in wrap quality. Your installer handles the detail work, but you need to get the car ready for them.
Do This
- Hand wash thoroughly (no automated car washes)
- Remove personal items, floor mats, trunk contents
- Remove aftermarket accessories (roof racks, mud flaps)
- Fill up the gas tank (avoids early trips post-wrap)
Don't Do This
- Don't wax or apply any coatings
- Don't use spray detailer or tire shine
- Don't get paint touch-ups right before
- Don't drive through mud or construction zones
During Installation (3-5 Days)
Here's what's happening while your car is at the shop. Understanding the process helps you appreciate why quality work takes time.
Day 1: Deep Clean & Surface Prep
Even if you washed your car, the installer will do a full decontamination. This is the most important step — any contaminant trapped under the wrap causes bubbles and premature failure.
- Clay bar treatment to remove embedded contaminants
- Isopropyl alcohol wipe to strip any wax, grease, or silicone residue
- Disassembly of door handles, mirrors, trim pieces, badges, and antenna
- Paint inspection for chips, rust, or imperfections that need addressing
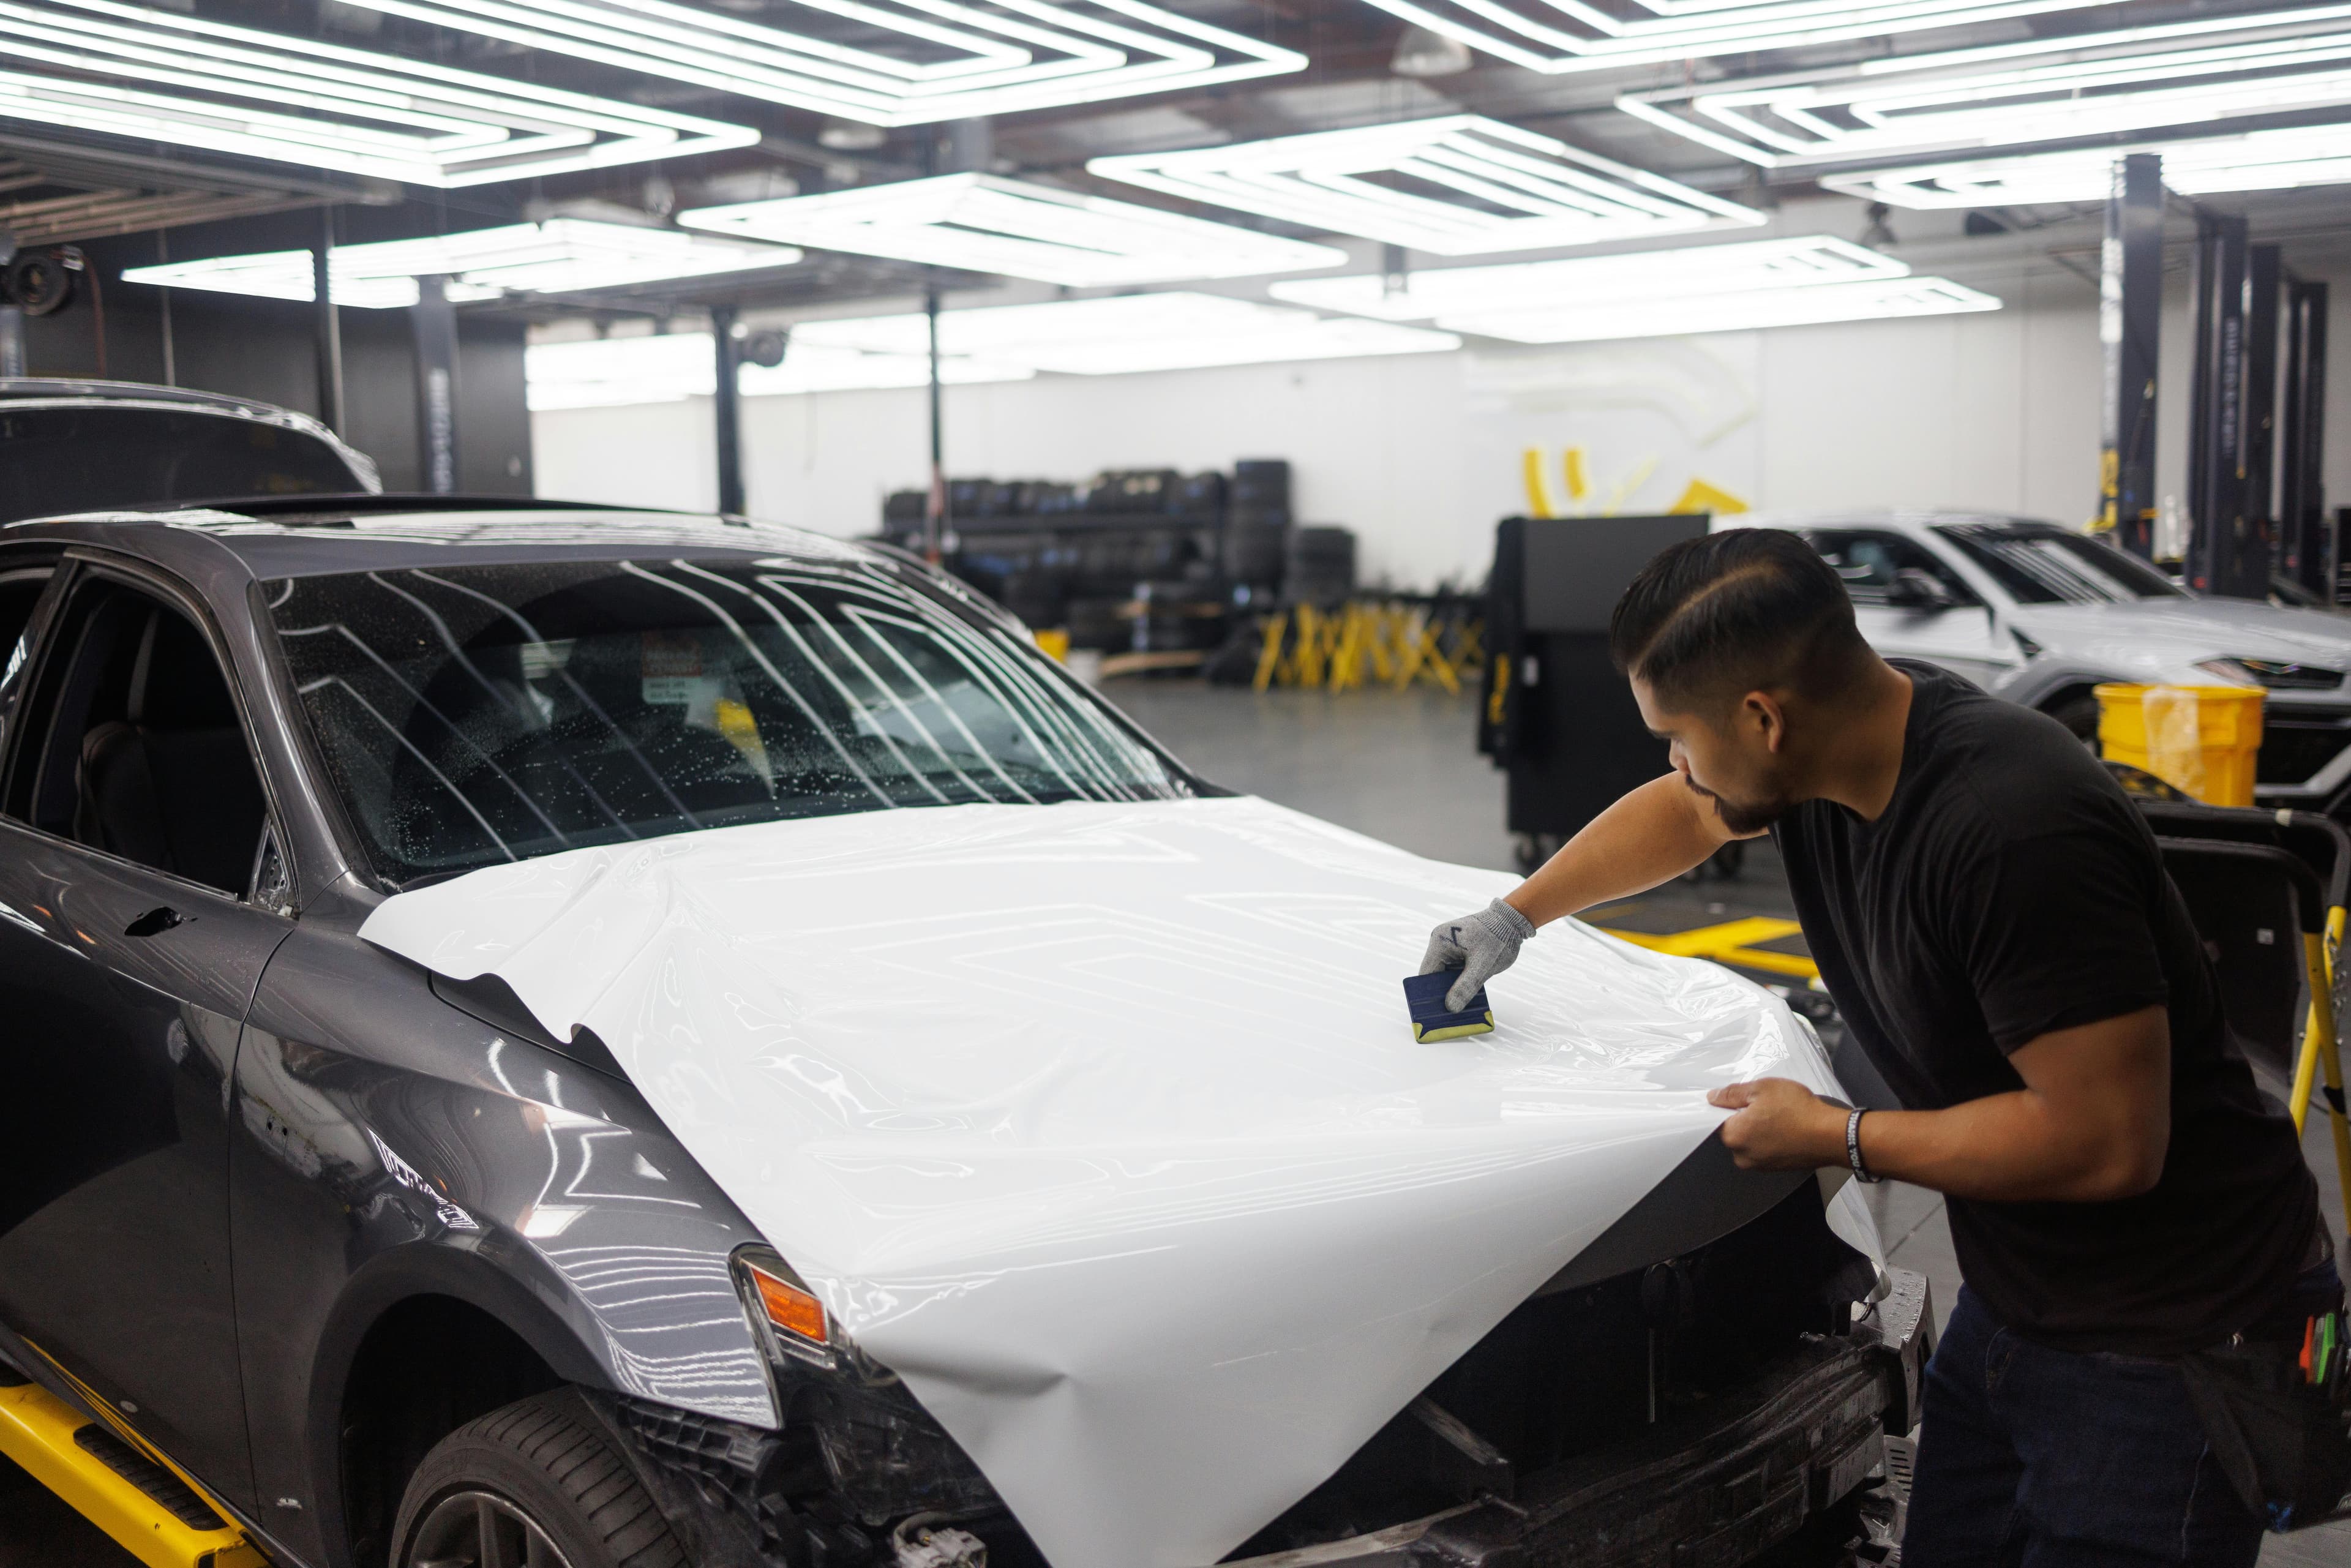
Days 2-4: Wrap Application
This is where the skill shows. Professional installers work panel by panel, using heat guns and squeegees to conform the vinyl to every curve and recess.
Typical panel order:
Hood → roof → trunk → fenders → doors → bumpers → mirrors and trim. Flat panels go first because they're simpler; complex curves (bumpers, mirrors) take the most time and skill.
The shop should be climate-controlled (65-80°F). Temperature affects how the vinyl conforms. A good shop won't rush this — each panel needs to be heated, stretched, squeegeed, and trimmed precisely. Edges are tucked into gaps and sealed.
Day 5: Post-Heat Treatment & Quality Check
After installation, the entire vehicle gets a post-heat treatment. This activates the adhesive's memory and locks the vinyl into its final shape — especially important around curves and recesses.
- Every edge and tuck point is re-heated and pressed
- Trim pieces, badges, and accessories are reinstalled
- Full vehicle inspection for bubbles, lifting, or alignment issues
- Final photos taken for your records and the installer's portfolio
Installation Timeline by Vehicle Type
Larger vehicles and complex designs take longer. Here's what to expect based on your vehicle.
| Vehicle Type | Wrap Type | Timeline | Typical Cost |
|---|---|---|---|
| Sedan (Civic, Model 3, Camry) | Full color change | 3-4 days | $2,500-$4,000 |
| SUV (RAV4, Model Y, Tahoe) | Full color change | 4-5 days | $3,500-$5,500 |
| Truck (F-150, Silverado) | Full color change | 4-6 days | $3,500-$6,000 |
| Sports car (Corvette, Supra) | Full color change | 4-5 days | $3,000-$5,000 |
| Any vehicle | Custom design/print | 5-7 days | $4,000-$8,000+ |
| Any vehicle | Partial wrap (roof, hood) | 1-2 days | $200-$800 |
Pricing varies by region. See our complete cost guide for detailed breakdowns.
Pickup Day: What to Inspect
Before you sign off and drive away, take 15 minutes to inspect the work. A reputable installer will walk you through every panel.
Your Pickup Checklist
- Check all edges — are they tucked in cleanly?
- Look for bubbles or wrinkles under direct light
- Open every door — does the wrap tuck into jambs?
- Check around mirrors, handles, and gas cap
- Verify color matches what you agreed on
- Make sure all trim and badges are reinstalled
- Get warranty documentation in writing
- Ask for the brand and product used (for future reference)
Tiny Bubbles Are Normal
Small air bubbles (especially on matte wraps) are common and usually disappear within 1-2 weeks as the adhesive outgasses. This is not a defect. However, large bubbles, wrinkles, or lifting edges should be addressed before you leave the shop.
The First 14 Days: Curing Period
The adhesive needs time to fully bond. What you do (and don't do) during this window affects long-term durability.
Curing Period Rules
Avoid During First 14 Days
- No car washes (hand or automatic)
- No pressure washers or hoses
- No parking under trees (sap is extremely hard to remove from fresh vinyl)
- Avoid highway driving in rain for the first 48 hours if possible
Safe During Curing
- Normal driving on dry roads
- Parking in a garage (ideal)
- Gentle dust removal with a microfiber cloth
- Spot cleaning bird droppings with water and a soft cloth
Long-Term Care: Making Your Wrap Last
After the curing period, regular maintenance keeps your wrap looking fresh for 5-7 years. It's simpler than maintaining paint.
Washing
Hand wash only with a wrap-safe, wax-free soap. Avoid automated car washes — the brushes can scratch and lift edges. Wash every 1-2 weeks, or weekly if your wrap is matte or satin (they show dirt more).
Protection
Park in the shade or a garage when possible. UV exposure is the #1 cause of wrap fading and degradation. Ceramic coating designed for wraps ($150-$400) adds a protective layer and makes cleaning easier. For climate-specific care, check our winter wrap care guide.
Know When to Replace
Even with perfect care, wraps don't last forever. Replace yours when you see significant color fading, edge lifting that doesn't stay down after re-heating, or cracking on the surface. Most quality wraps last 5-7 years with proper maintenance. See our wrap lifespan guide for details.
10 Questions to Ask Before Hiring an Installer
A good installer will welcome these questions. If they dodge any of them, that's a red flag.
1. "What brand of vinyl do you use?"
Why it matters: Top brands: 3M 2080, Avery Dennison Supreme, KPMF, Hexis. If they can't name it, walk away.
2. "Can I see your portfolio of completed wraps?"
Why it matters: Look for clean edges, consistent color, and complex curves done well (bumpers, mirrors).
3. "How long have you been wrapping vehicles?"
Why it matters: Look for 3+ years of dedicated wrap experience — not just general auto body work.
4. "What does your warranty cover?"
Why it matters: Good shops offer 1-2 year installation warranty plus pass through the material manufacturer warranty (3-5 years).
5. "Do you wrap door jambs?"
Why it matters: Edge-to-edge coverage including jambs is a sign of quality. Budget shops often skip this.
6. "What happens if I'm not happy with the result?"
Why it matters: Professional shops have a clear satisfaction policy. Get it in writing.
7. "Is your shop climate-controlled?"
Why it matters: Temperature and humidity control is essential for proper adhesion. Garage installations are risky.
8. "Do you disassemble trim pieces or wrap over them?"
Why it matters: Disassembly = cleaner edges and longer-lasting results. Wrapping over trim is a shortcut.
9. "What's the total cost including prep and post-heat?"
Why it matters: Avoid surprise charges. The quote should include everything from prep to final quality check.
10. "Do you have 3M or Avery certifications?"
Why it matters: Certified installers have been trained and tested by the material manufacturer. It matters.